Photoshop is a very versatile software when it comes to processing of digital images. If you have been into stock photography for quite some time, you definitely know the importance of digital post processing and how much it can affect your status in the stock photography business. This is not just true for portraits, HDR images and low light images, but also for studio images that require “isolation”. Isolation refers to the neat removal of the background from an image so that the frame contains just the subject. The background is usually transparent/white/black depending on what suits the application best. Isolating images makes it possible to use the images as “clip art” and boosts sales in most categories.
There are a variety of methods for creating isolated objects. That includes the most primitive method: Erase the background away using the eraser tool! But is it smart? Not really. How long would it take to isolate a millipede? Perhaps two days and a ton of will power.
As stock photography is a game of both quality and quantity, the simple methods start to become very inefficient for a large number of complex images.
This is where the smarter features of Photoshop come to the rescue. Using the edge refining algorithms, Photoshop can make the task of isolation much faster even on complex objects such as hair or partly blurred subjects. Also, this method removes the “stains” of the previous background color that was removed, thus creating an impression that the object was shot in a studio environment with a neutral background color even if it was not.
Here is how to do it the smarter way:
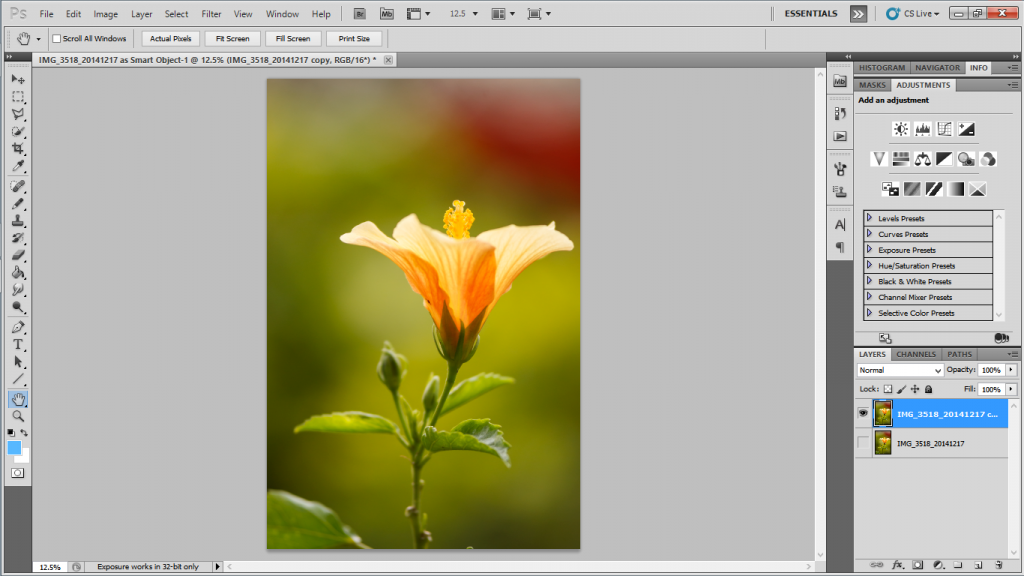
As an example, let us try to isolate a hibiscus flower on a green background. A part of it is blurred by low depth of field – which means erasing away the background will not work as the edges must be hard and smooth depending on where the object is sharp and where it is blurred respectively.

A flower that needs to be isolated.
Notice that there are sharp as well as smooth edges in the subject. Also, the subject color is very similar to background color – nightmare for isolation by normal methods.
Hard and smooth edges.
We will begin by using the “Quick Selection” tool to select the background that we have to remove.
Quick selection tool.
The objective is to ‘select’ the subject as well as possible using the quick selection tool. The approach for this image is to select the background and then right click > Invert selection so that the subject is selected.
The subject is selected. Blurred areas are roughly selected.
Now, go to the menu bar and go to Select > Refine Edge and then select a type of view in the Refine Edge window that pops up, preferable selected layer on background layer. You should see something like this:
Refine edge tool.
You may see the background layers if you have any layers under the current layer.
To remove the greenish ‘stains’ from the edges of the petal, you can select the decontaminate colors option and get rid of any remaining color left behind by the removed green background. Now to smooth out the edges, all you have to do is use the brush tool in the dialogue and paint on the edges to enhance them. The settings shown in the screenshot work well for most situations, however, feel free to experiment.
Brush tool and painting on the edges to enhance them.
You can do the same with the blurred regions too. Though it may need some care and attention, it will give you good results in a few seconds and after a couple of strokes.
You can now hit OK when you are satisfied with the results. After you are done, you will get the object isolated. To put a different background, for example, a black background, you can simply create a new layer beneath the current layer and fill it with black or white, etc.
The flower isolated on black.
Don’t forget to save your work!
Isolating objects is fun and a much better experience now, is it not?